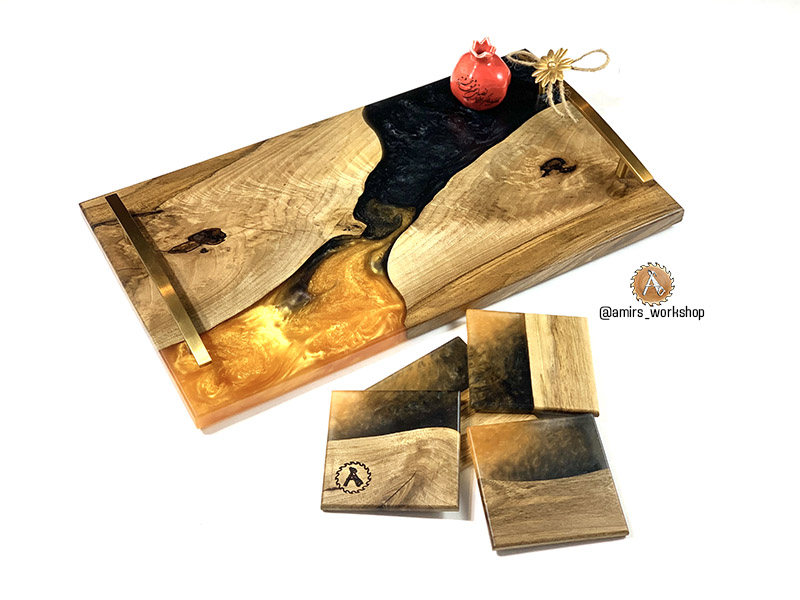
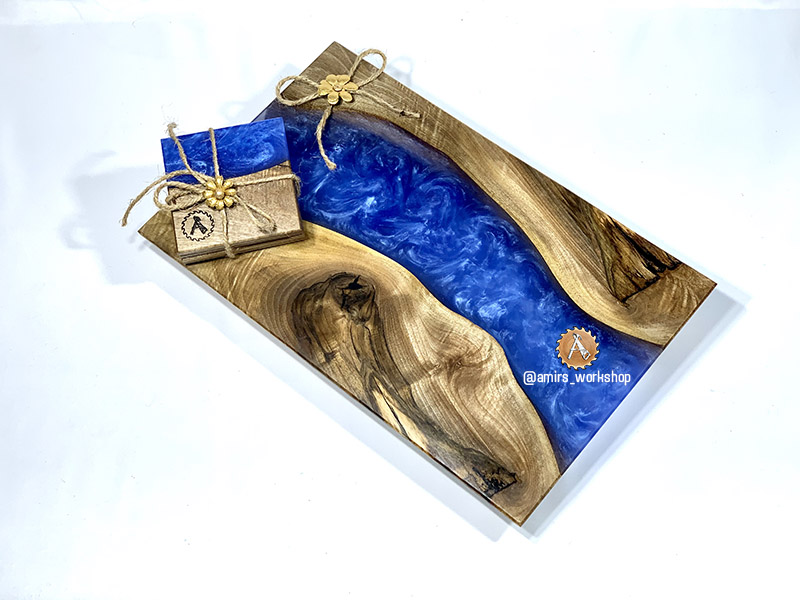
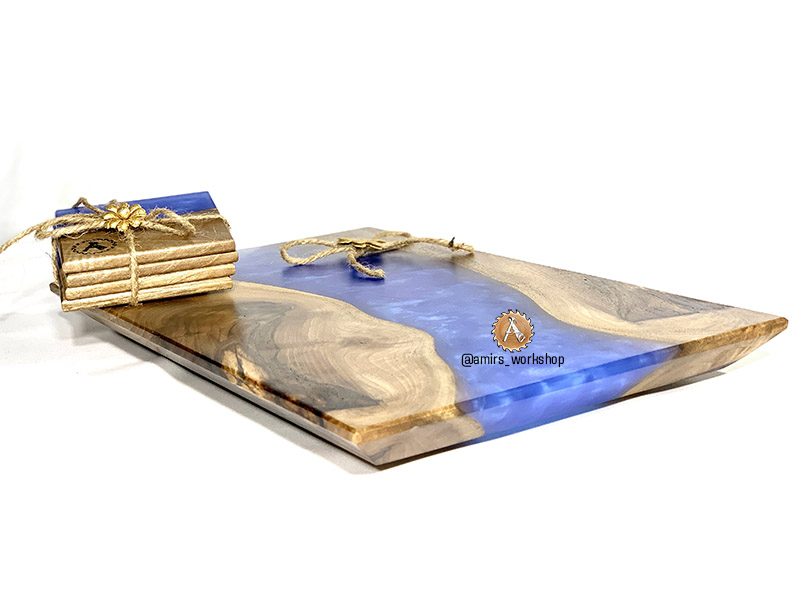
Charcuterie boards, also known as serving boards, are beautiful hand crafted boards that are used for serving cheese, meat, fruits, nuts, etc. The charcuterie boards come in difference shapes, designs, and made from different types of wood. More recently, artists make charcuterie boards from a combination of wood and epoxy resin. In this post, I briefly explain how I make my epoxy charcuterie boards.
It’s all about design…
First and foremost, you need to have a design in mind. For example, if you have a double-live edge slab, you could cut the slab in two pieces, flip one piece to obtain a river design. If your slab has only one live edge, you could put into a mold and pour epoxy around it. There are almost infinite shapes and designs that you could come up with. Be sure to take your time, picture the final design, use some creativity before cutting.
In more advanced levels, you could take a photo of your slab and process it in photoshop. In photoshop, you could virtually cut the slab into pieces until the desire shape is obtained. In the following photos, you could see how I started with one piece of walnut slab and cut it to get a driver design.


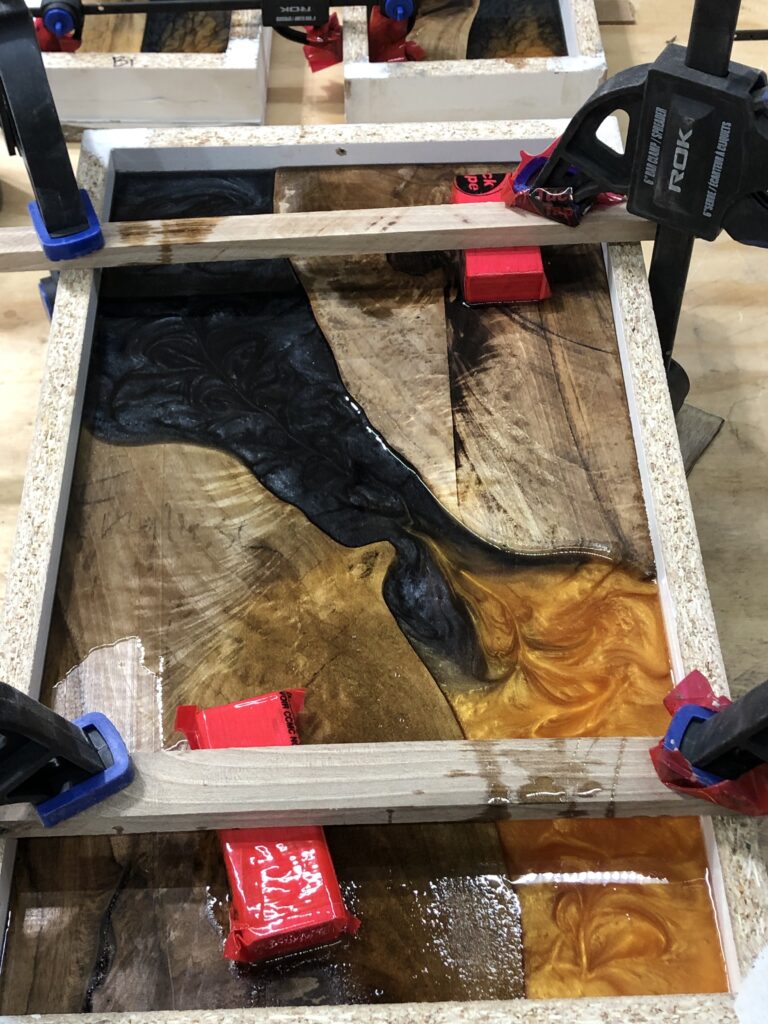
Next step is to construct a mold according to your desired dimensions. My favourite size for serving boards is 10″x18″x1.5″ or 10’x16″x1″. So I make my molds 1/4″ oversized and later trim the board to its final dimensions. I use 5/8″ melamine board for making my molds. Then I use silicon to seal the inside and outside the corners of the mold to make it leak-proof. Be sure to use mold release spray before laying the wood inside the mold. It prevents the epoxy from sticking to the melamine board. If you don’t have access to mold release spray, you could use construction duct tape and cover the entire mold.
I recently saw silicon molds in the market that are re-usable for multiple pours. The melamine molds are only good for 2-3 pours before you have to switch to a new one. I personally would like to make my own mold since I change the dimensions according to my designs and the size of the wood. If you are thinking to make multiple boards with the same size, you could invest in silicon molds.
This step is optional. I always coat the wood with shellac. Shellac protects the wood from penetration of liquid pigment or epoxy, that could potentially damage your project.
Next step is mixing and pouring the epoxy resin. But before doing so, be sure to clamp the wood pieces to the mold. Wood is less dense than epoxy and it will float. So make sure they are secured.

Be sure to read the epoxy instruction. Epoxy brands could be poured at different thickness. For any pour thicker than 1″, you should use a slow cure epoxy resin. This is a very critical as the wrong choice of epoxy could possibly jeopardize your entire project.
Slow cure epoxy resins are usually cured after 72 hours. I personally take the boards out of mold after 5 nights.
After successfully taking out the board from the mold, the business is as usual. Flattening, sanding and finishing.
Flattening: You could use a router sled or a thickness planer to flatten the board.
Sanding: I normally start form 80grit and go all the up to 400 grit (80, 100, 120, 150, 180, 220, 240, 320, 400, then maroon pad). This gives me you satin finish on epoxy. Do not skip sanding grits as the scratches will appear on the final product.
Finishing: There are many options. My favourite go-to finishes are Osmo Polyx-oil 3043 and Rubio Monocoat pure. The are both awesome finishes. After curing for 48 hours, I apply a food-safe wax. The wax gives you a perfect satin finish.


I hope you enjoyed this brief instruction. I am sure there are many steps that have to be considered depending on the size, shape, and the design of your project. If you need more details or if wasn’t clear enough on any of these steps, feel free to reach me out at amir.workshop@gmail.com.
You could see the entire crafting process on my YouTube channel (Amir’s Workshop). If you enjoyed, please like and subscribe our channel.