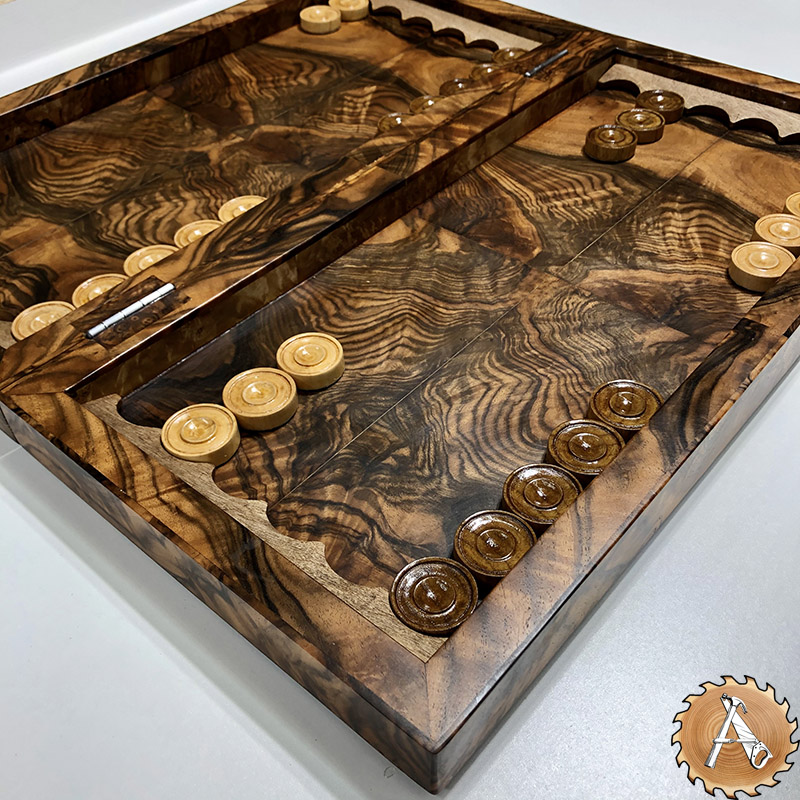
The work I am about to share with you today is different from my previous works. In this post, I’ll talk about the restoration of an antique piece.
I walk you through my steps and hopefully some pieces are useful for your projects.
This backgammon board used to be my dads. I remember growing up, watching him playing in heated games with my uncles and cousins. Most of time their game used to start with bragging about their gaming skills, and ended with arguments with no clear winner!
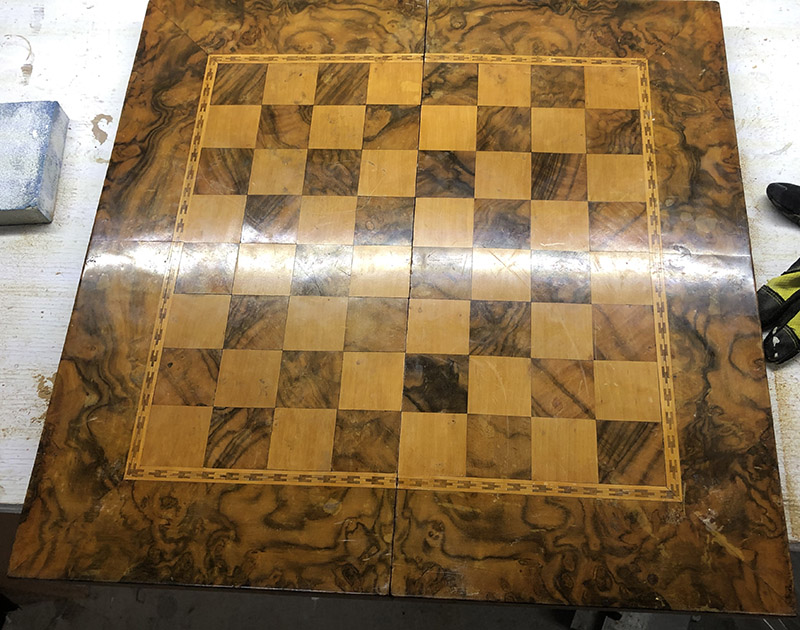
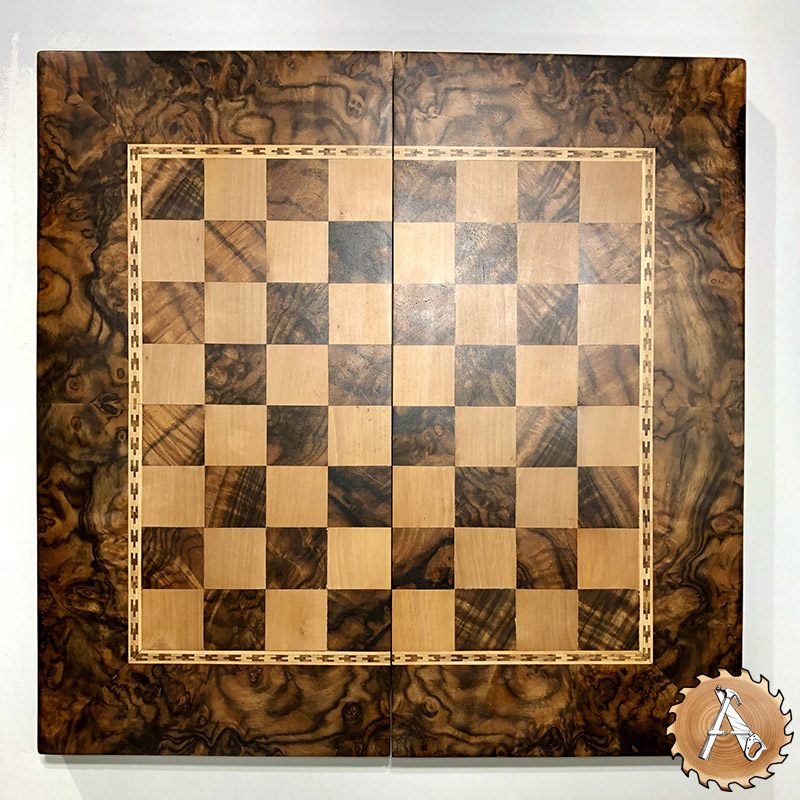
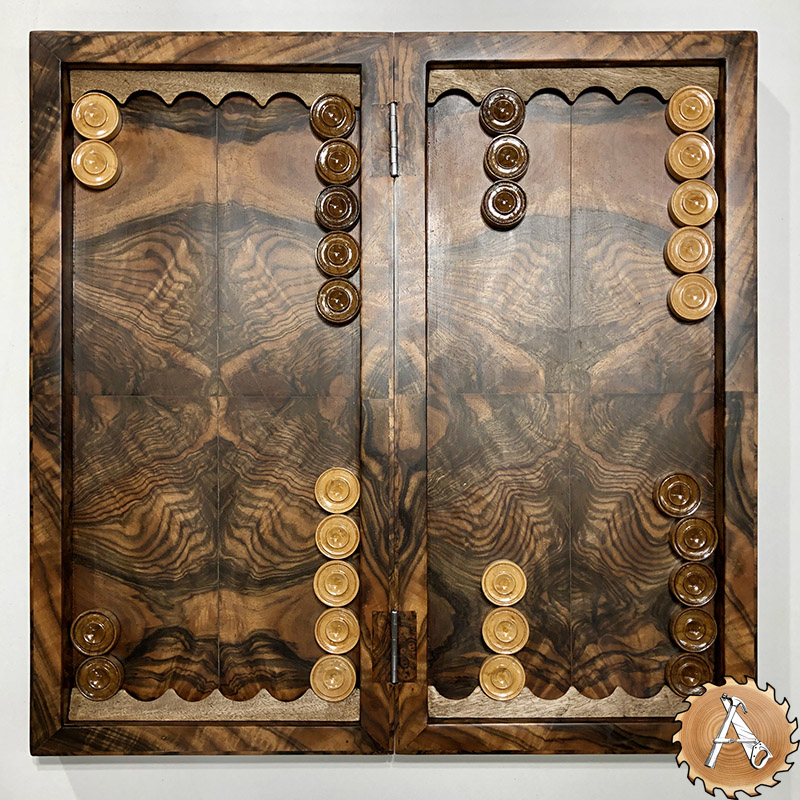
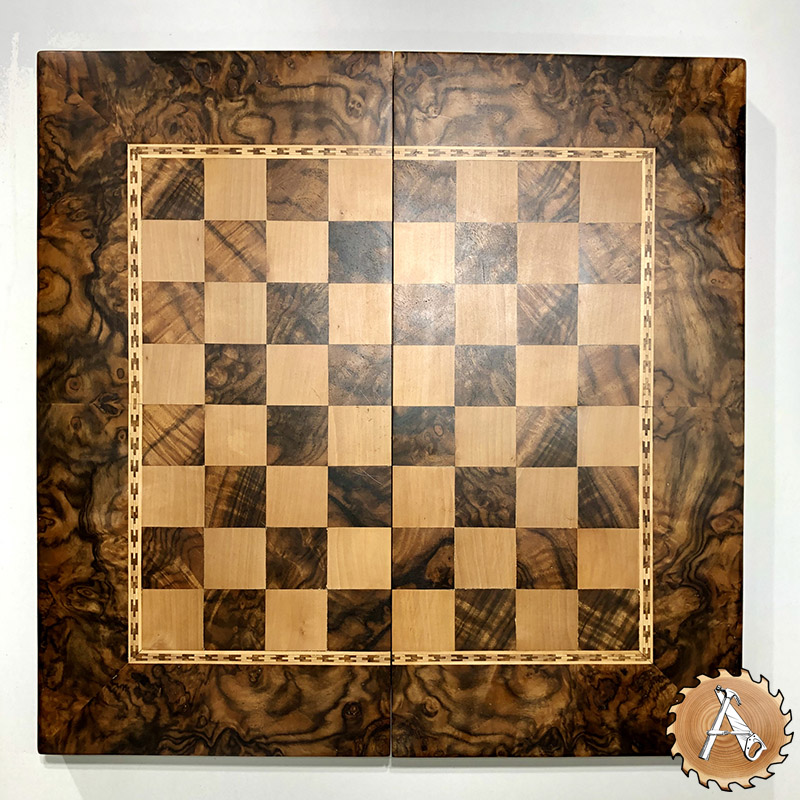
The board is over 80 yrs old and is beautifully handcrafted with book matches of olive wood. The board is finished with lacquer. However, over the year, it changed its colour and yellowed. The fact is that in the old days, the use of UV protecting materials was not that common, and so the finishing product degraded and changed its colour (similar to some epoxy resin products). As the result, board become yellowish, which is an indication of chemical decomposition of the protecting layer.

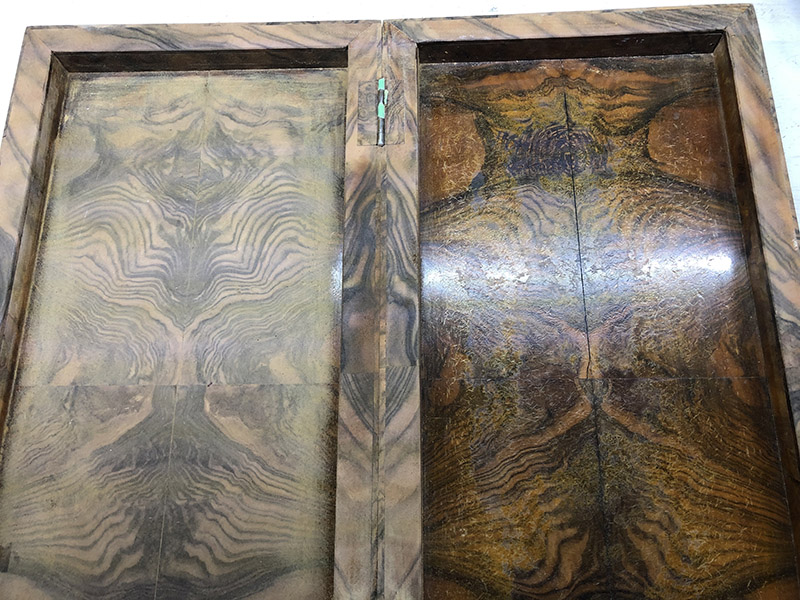
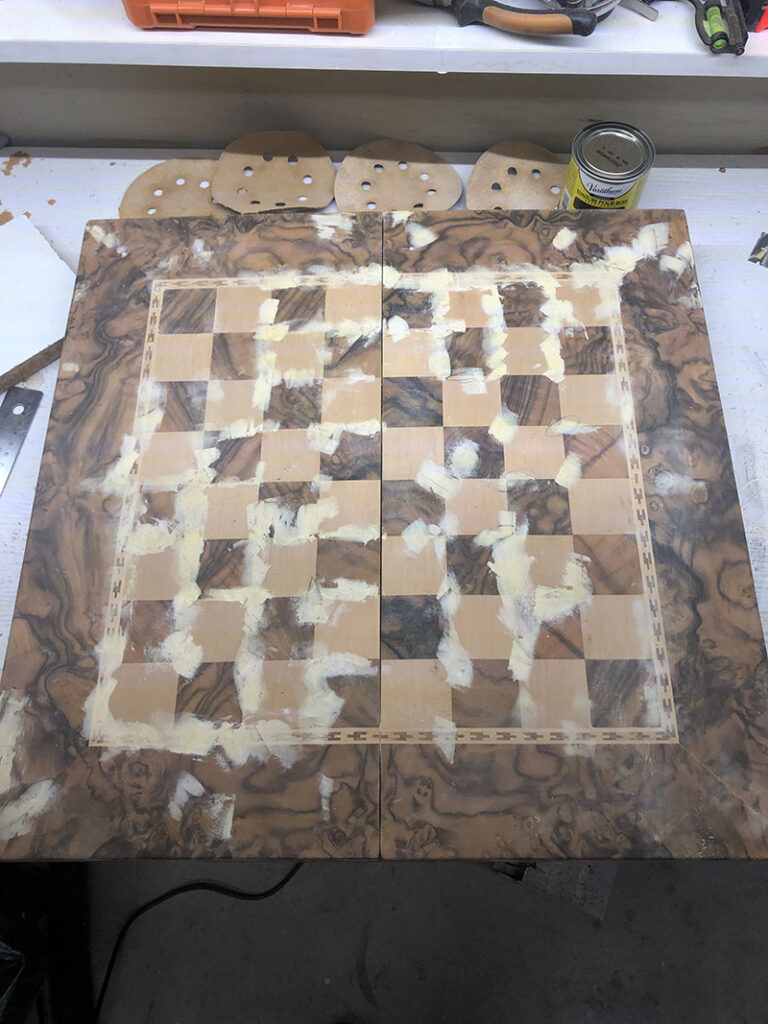
I started sanding the board with 80grit to remove the finishing layer. Then I sanded the board with 100, 120, 150, 180grits. At this stage, I inspected the board and filled all gaps minor cracks with wood filler. Be careful to match the colour of your wood filler with the board. Once done, I lightly sanded the board with 180grit sand paper, and then increased the sanding to 220, 240, 320 grits. Most woodworkers stop sanding after 240/320 grit. You could, if you’d like to.
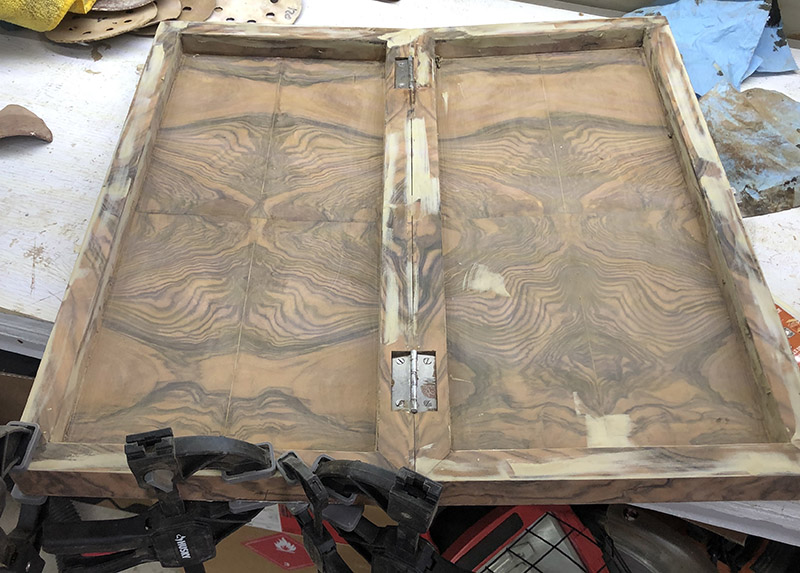
Since I was looking for a smoother finish, I sanded the board with 400 and finally finished sanding with 600grit. At this point the board was looking absolutely beautiful, and I know I have to choose my finish very carefully.

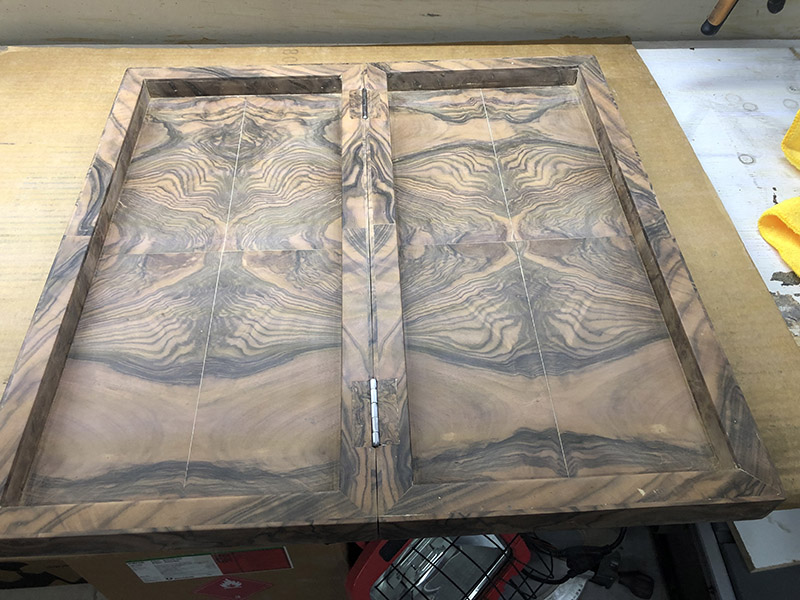
I was looking for a finish that helps popping out the wood’s grain, and provide and extra moisture protections. In my previous project, I had great success with Osmo Poly Oil 3043. Since this is a fantastic finish for figure wood, I decided use it again. It’s an excellent finish and very easy to apply. Make sure you apply evenly on you piece with a rag and buff the surface after 5 min. The buffing should be continued until all excess materials is removed.
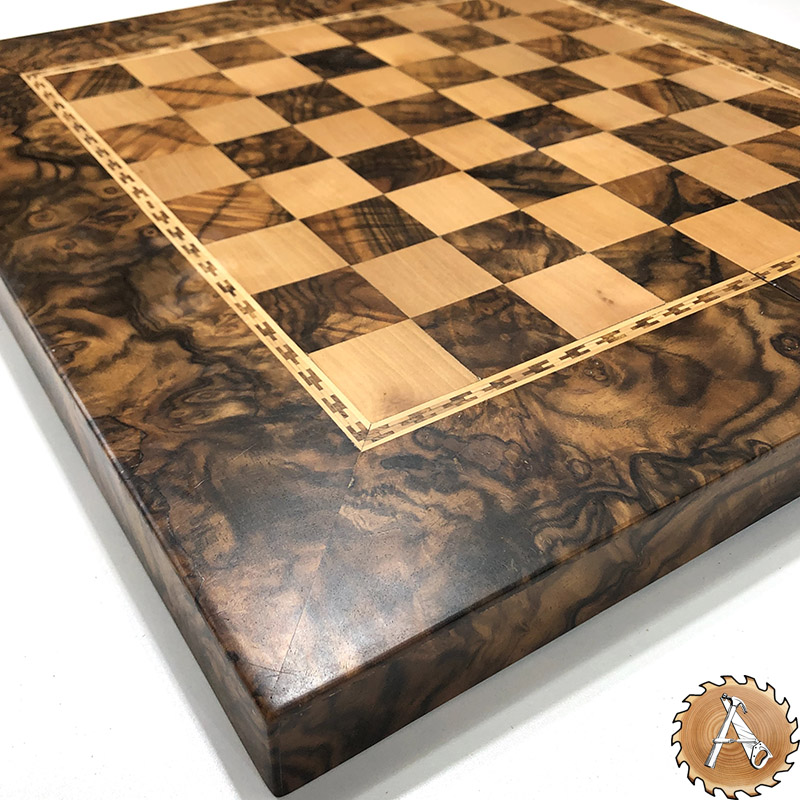
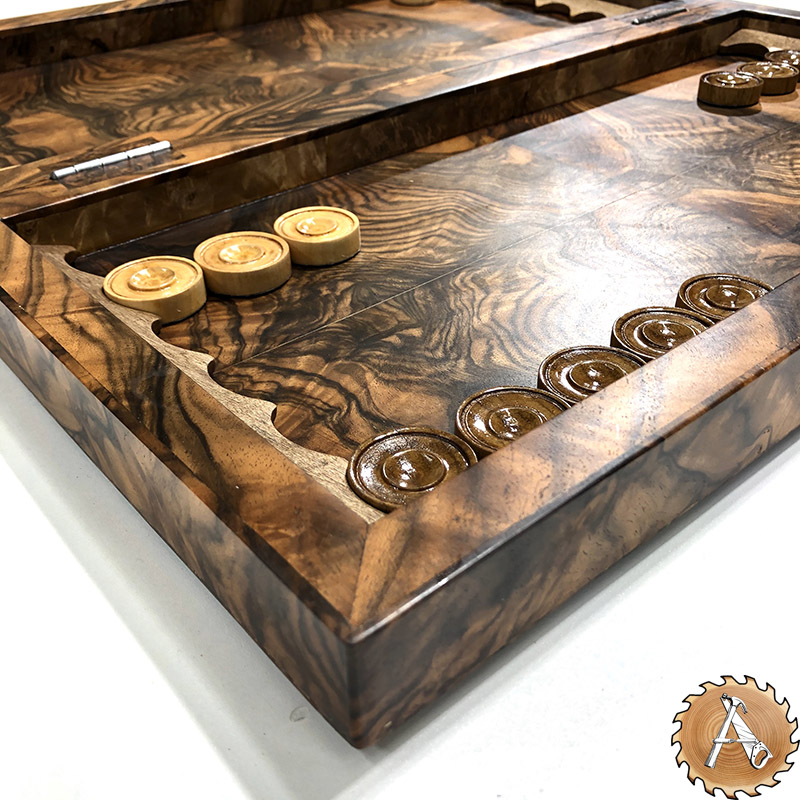
I left some photos of this stunning piece and hope you enjoy it too.
